Artwork Guidelines
Knowing the correct artwork specifications is important to achieving the best possible print quality on your products. After all, a printed product is only as good as the file used to create it.
Below, you’ll find the tools you need to create the perfect print on demand artwork.
Our Design Guidelines & Best Practices will walk you through the file types, color profiles, & design effects that will translate to the best printed products for each decoration method. Our product-specific artwork templates are also provided for all dye-sublimation products to give you the exact artwork specifications if you’d like to utilize the maximum print area.
With these tools, you’ll be able to sell flawless designs on any product.
Have a question not mentioned in our instructions? Visit our FAQ section or shoot us an email at [email protected] with specific details.

Click the above image to download our design guidelines, or follow this link.
For your convenience, we’ve also divided this information into separate documents for each decoration method. Please note that all information found in the documents below is included in the comprehensive Design Guidelines & Best Practices document above.

Click the image above or follow this link.

Click the image above or follow this link.
Art Templates
Below is our complete selection of art templates used for designing within the full printable area of our dye-sublimation products. Each template comes with a .png detailing Safe Area, Bleed, etc. Simply click the download button; the template will open in a new tab so you can save & begin selling!
To use an Art Template:
- Open the CustomCat art template for your selected product in Photoshop or another design program.
- Insert your artwork in a new layer, placing all important parts of your design within the designated “Safe Area” on the art template to ensure your design will not be cut off during the printing process.
- If you’re designing drinkware, use the indicated centering lines to ensure your artwork is placed exactly where you’d like.
- Hide or delete the Art Template layer from your file.
- Save as a .png, .jpg, or another accepted file type.
- Ta-da! You’ve now used a CustomCat art template to create artwork exactly to the recommended specs for that product.
To ensure your design prints properly on each product:
-
- Ensure all important elements of your design are within the safe area on the product template.
- Fill the entire design template! The outer edge of the template represents “Bleed Area,” which signifies the areas which may print on the outer edges of your product.
- Failure to fill the bleed area will likely result in unprinted white unprinted areas around the edge of your product.
Please note: if you are using “CC Preset” positioning within the CustomCat platform, you can use a transparent PNG file & any of our colored backgrounds to ensure your design will print perfectly. There’s no need to utilize a design template for this option.
Vegan Leather Hat Patches:
Accessories:
 |
Luggage Bag Tag |  |
Baby Apparel:
 |
Baby Bib |  |
Blankets:
 |
30″ x 40″ Sublimated Blanket |  |
 |
50″ x 60″ Sublimated Blankets |  |
 |
60″ x 80″ Sublimated Blankets |  |
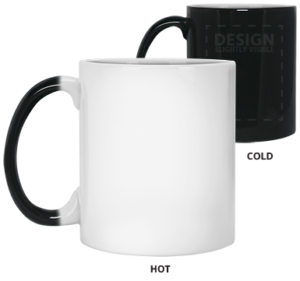
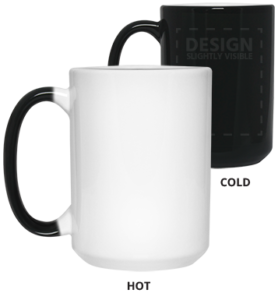
Drinkware:
Rugs & Mats:
 |
Indoor Doormat |  |
Holiday Ornaments:
 |
Circle Ornament |  |
 |
Heart Ornament |  |
 |
Oval Ornament |  |
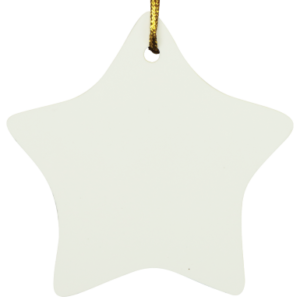 |
Star Ornament |  |
Wall Art:
Towels:
| 15″ x 30″ Hand Towel |  |
|
| 35″ x 60″ Bath Towel |  |
|
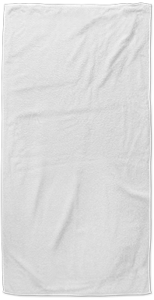 |
35″ x 70″ Beach Towel |  |
Pillows:
 |
Small Square Pillow |  |
 |
Medium Square Pillow |  |
 |
Large Square Pillow |  |
All-Over-Print Apparel:
 |
Cut & Sew Leggings |  |
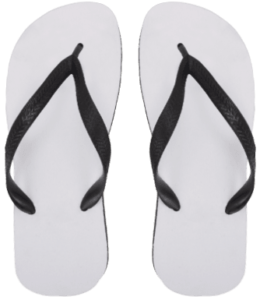 |
Adult Flip Flops (All Sizes) |  |

























42 thoughts on “Artwork Guidelines”