[Guide] Selling Custom POD Holiday Ornaments
UPDATED: October 2023
It’s (almost) the most wonderful time of the year! The holidays will be in full swing before you know it — it’s time to get the low-down on the hottest product of the season: Holiday Ornaments.
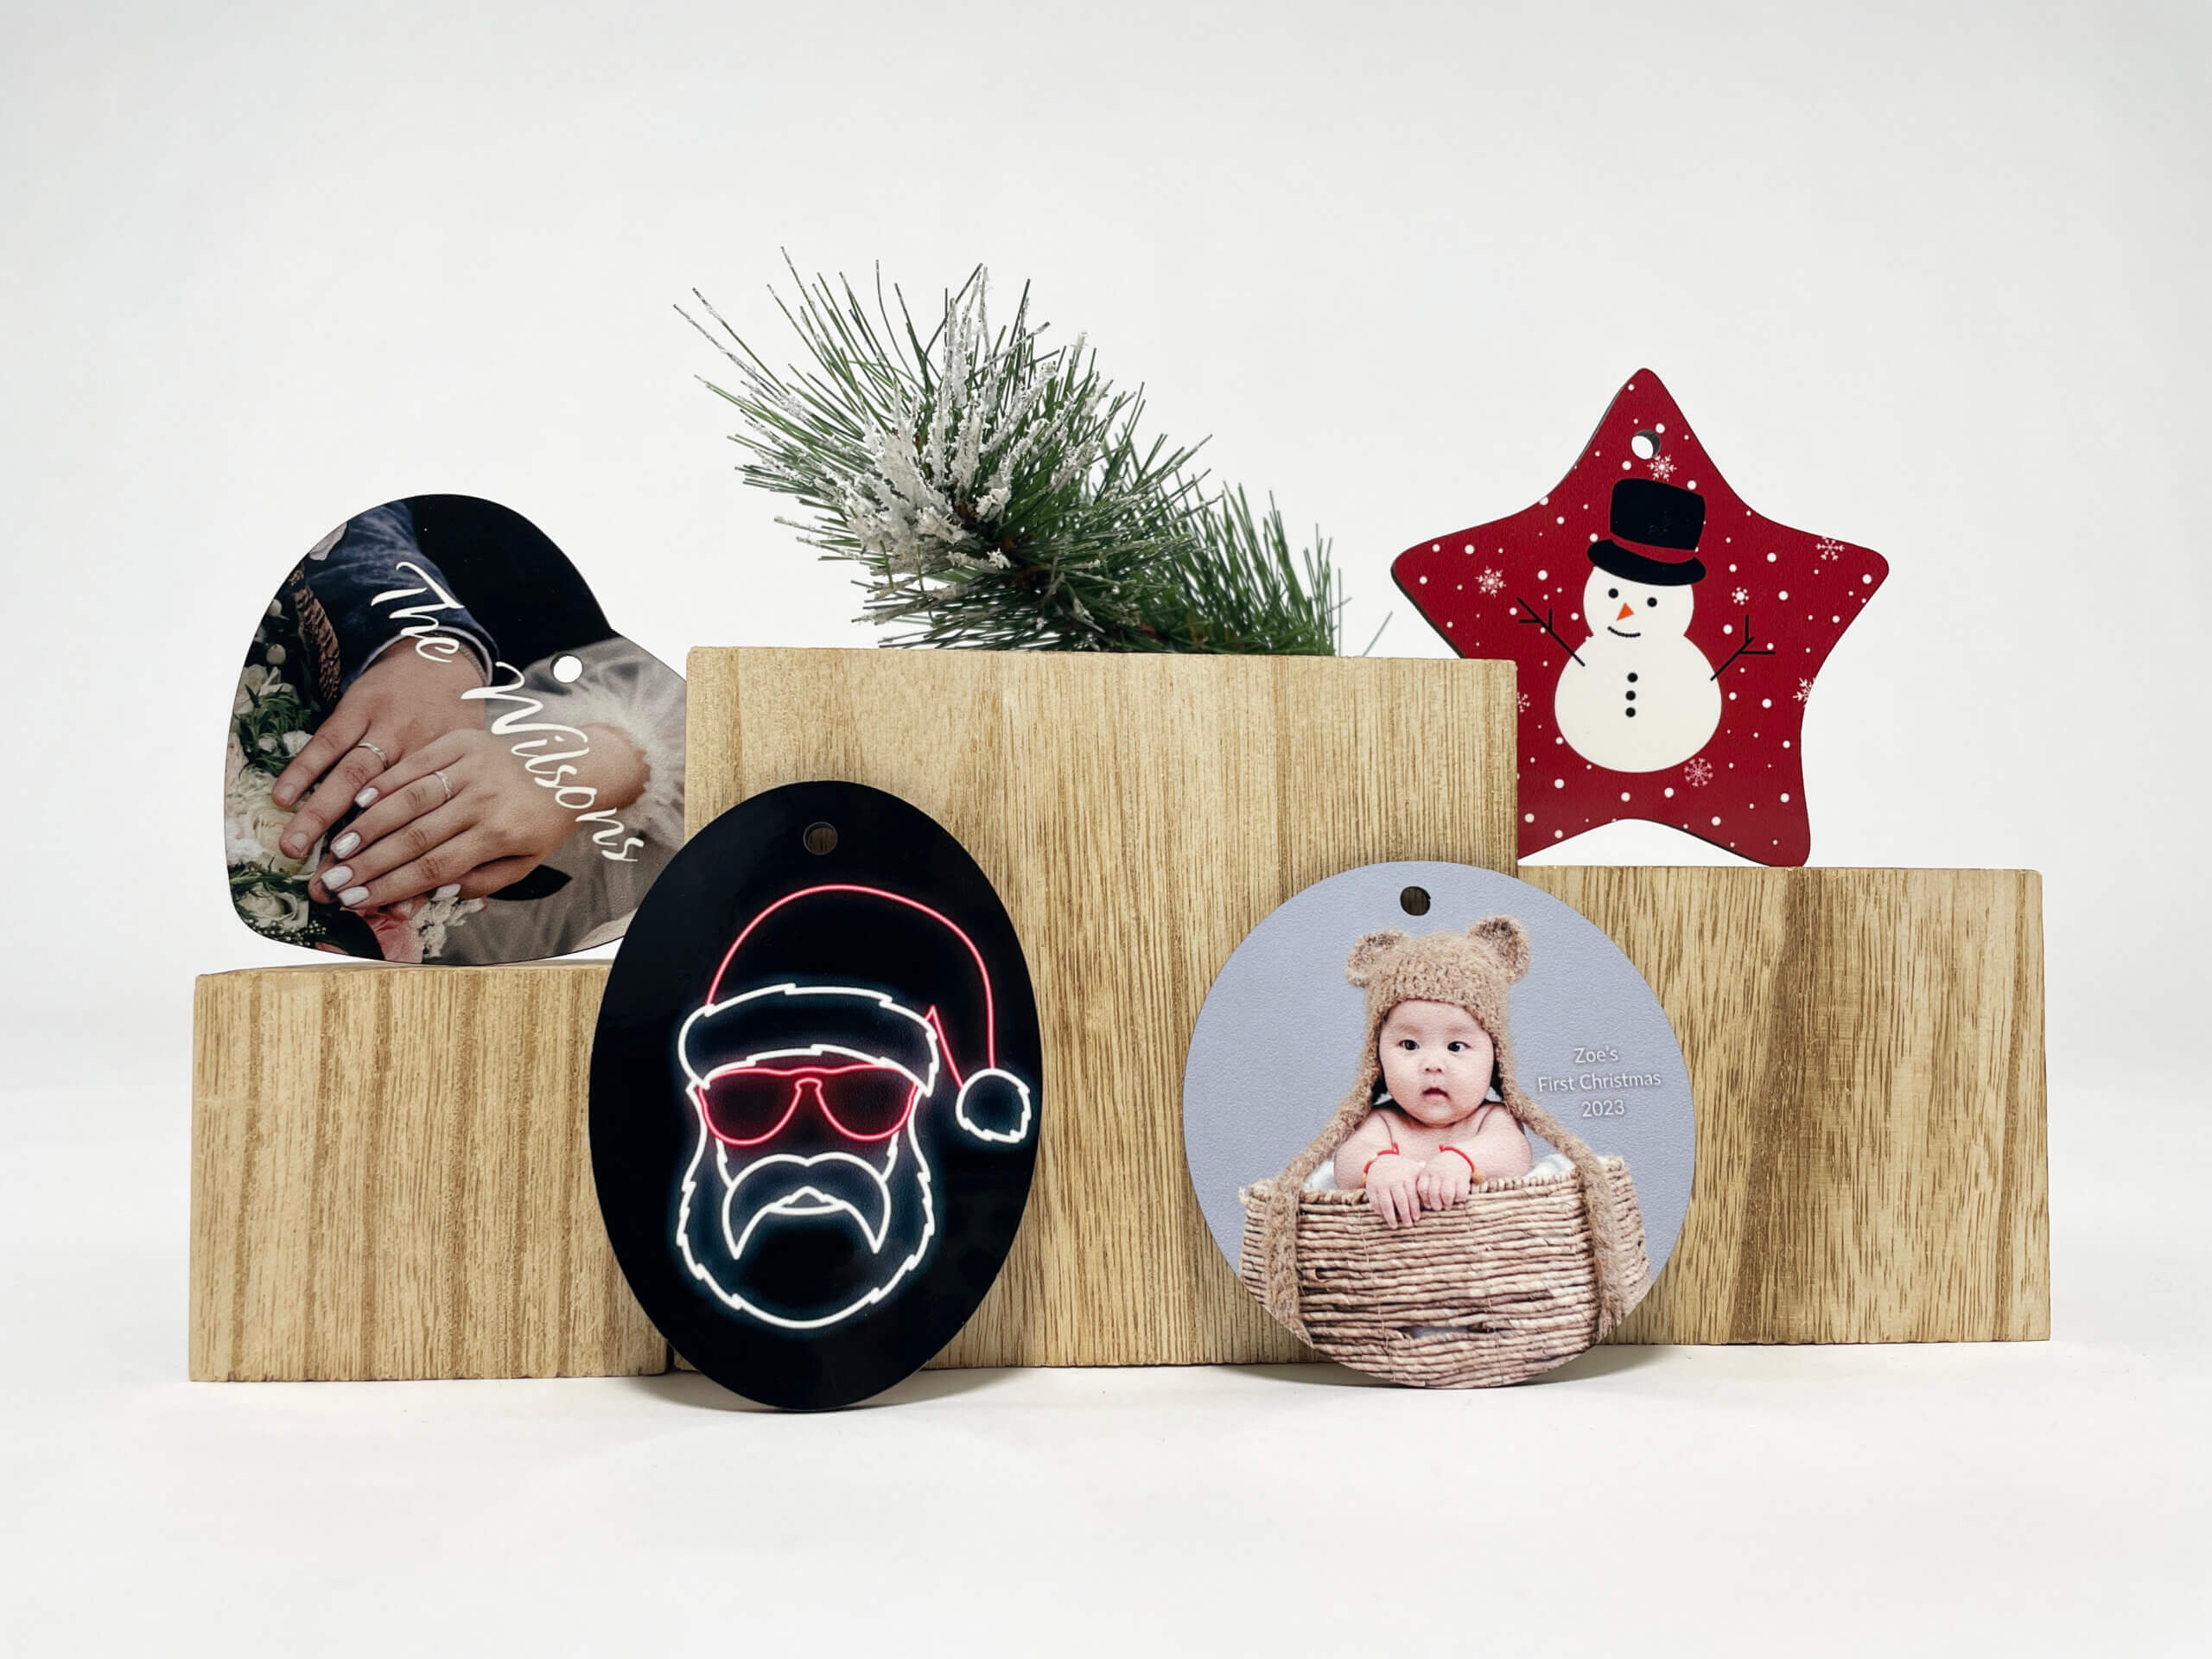
Nothing compares to the sight of a beautifully decorated tree. You can find pine, fir & spruce trees glowing & shimmering in town squares & living rooms all over the world. Even folks who don’t celebrate the Christmas holiday love the warm glow of an illuminated tree nestled next to a warm & cozy fireplace.
Sign up for your FREE account & start selling Custom Holiday Ornaments today!
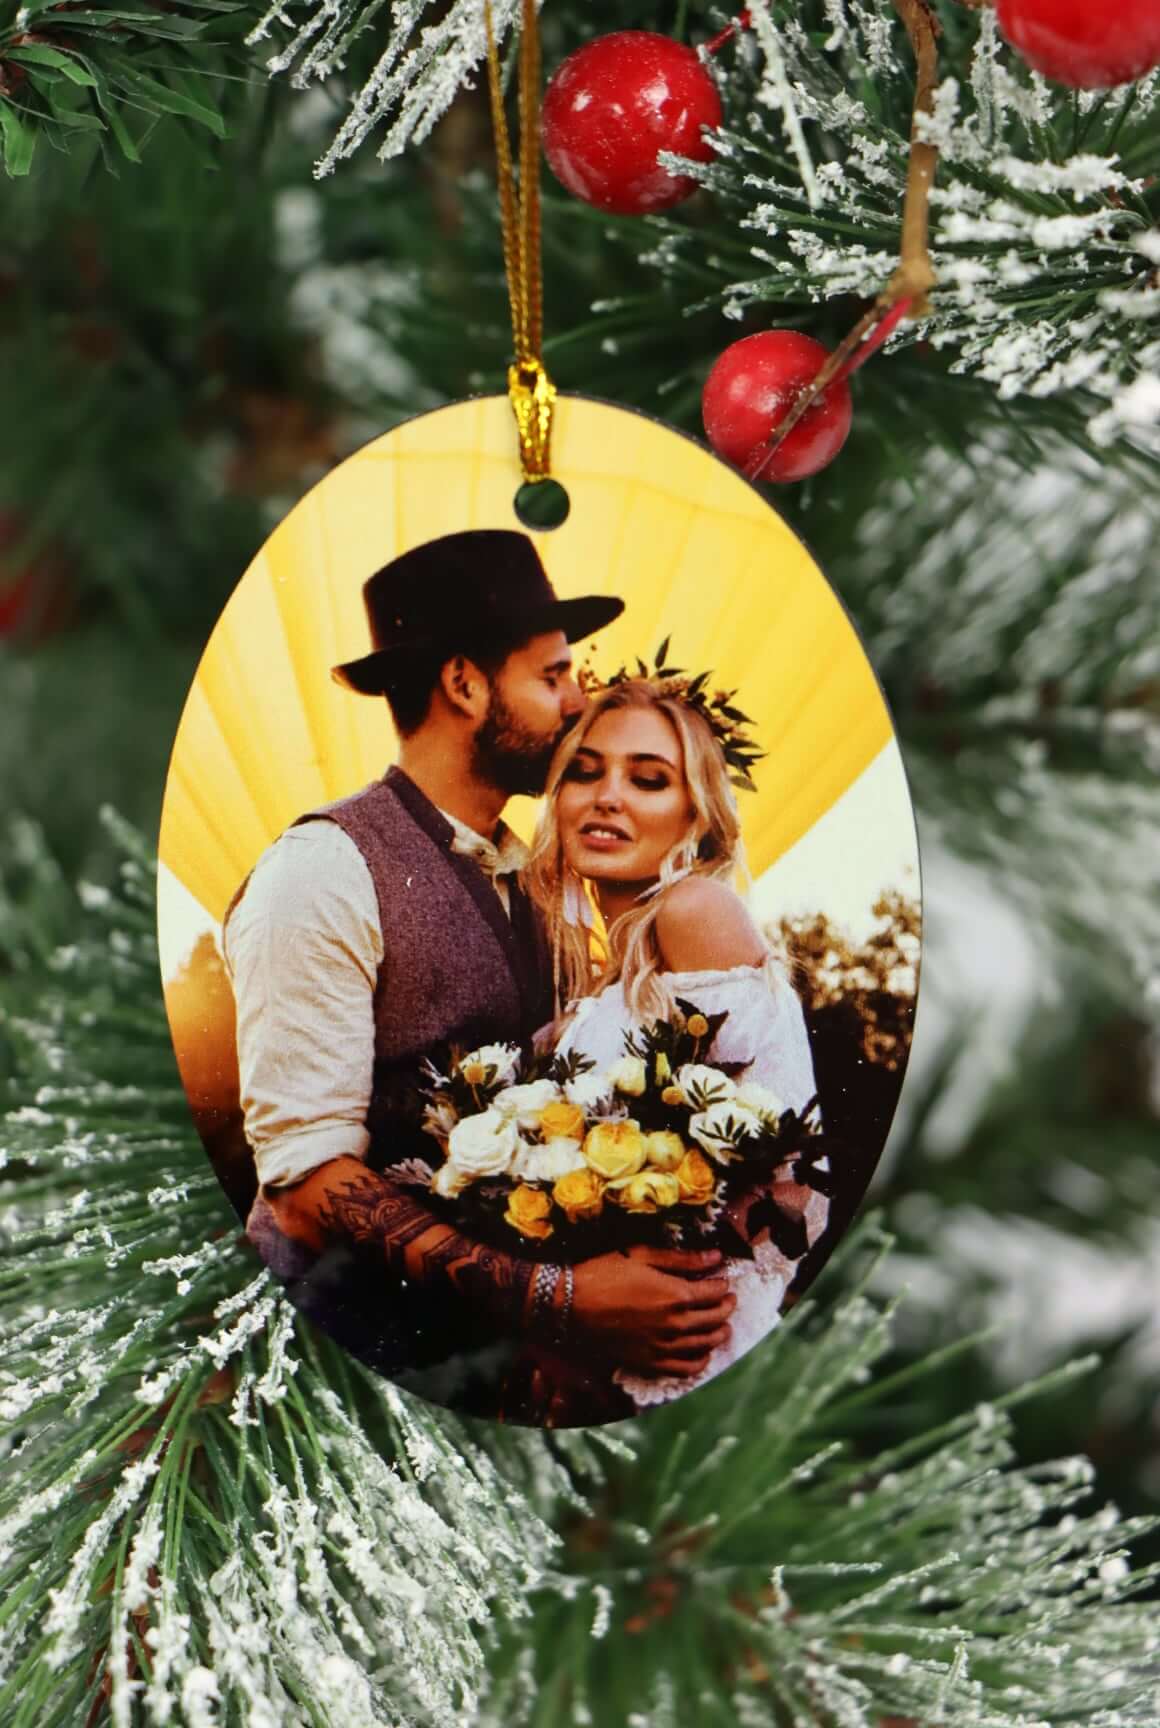
Decorating a tree with ornaments can be one of the most lasting holiday memories — especially if those ornaments are special to the person hanging them. Holiday ornaments are frequently purchased as sentimental gifts, physical reminders of inside jokes, or simply beautiful decorations. CustomCat’s MDF Holiday Ornaments are highly durable & beautifully printed so these memories can last a lifetime.
Keep reading for product information, design guidelines, & marketing tips below!
Product Details:
CustomCat PRO Price: $3.75
CustomCat Lite Price: $5.75
Shipping Category: Super Lightweight (~0.5 oz per ornament)
Shipping Cost: $3.99 + $0.75 per additional item
MSRP: $11.95
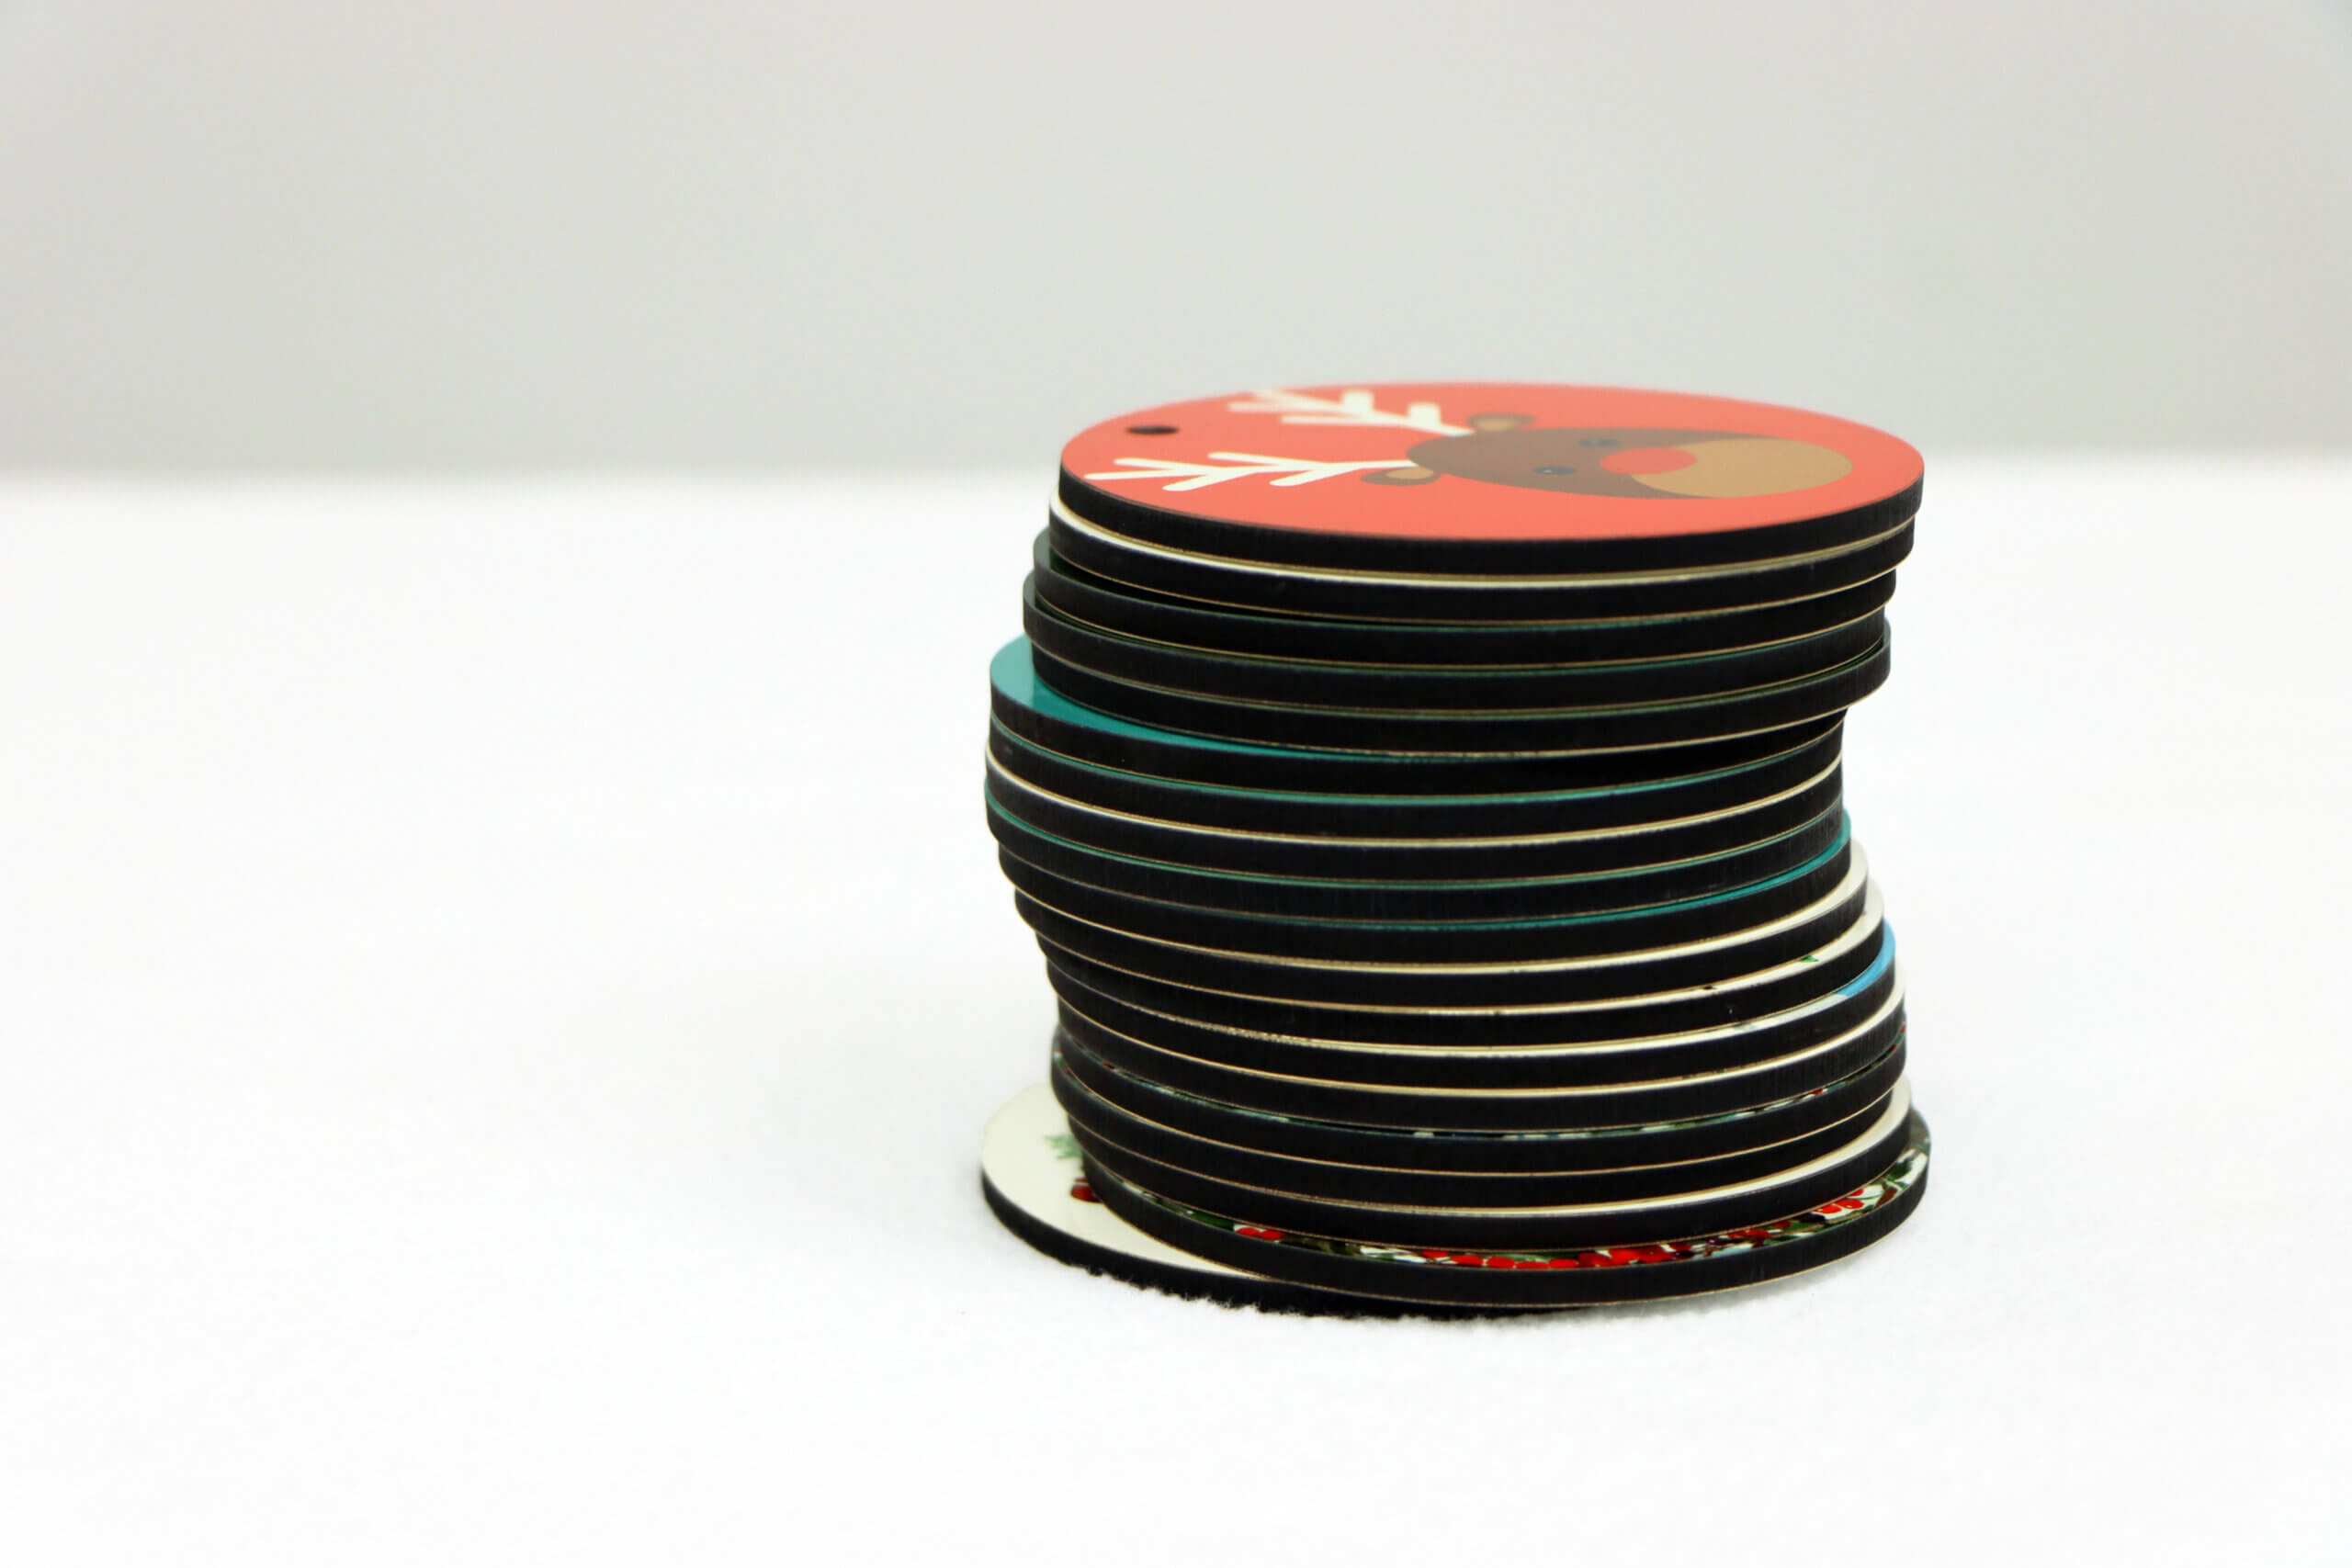
- Crafted from durable MDF with a high-gloss plastic finish so your designs last a lifetime
- Vibrantly printed from edge-to-edge via Sublimation
- Ships with a festive gold cord for easy hanging
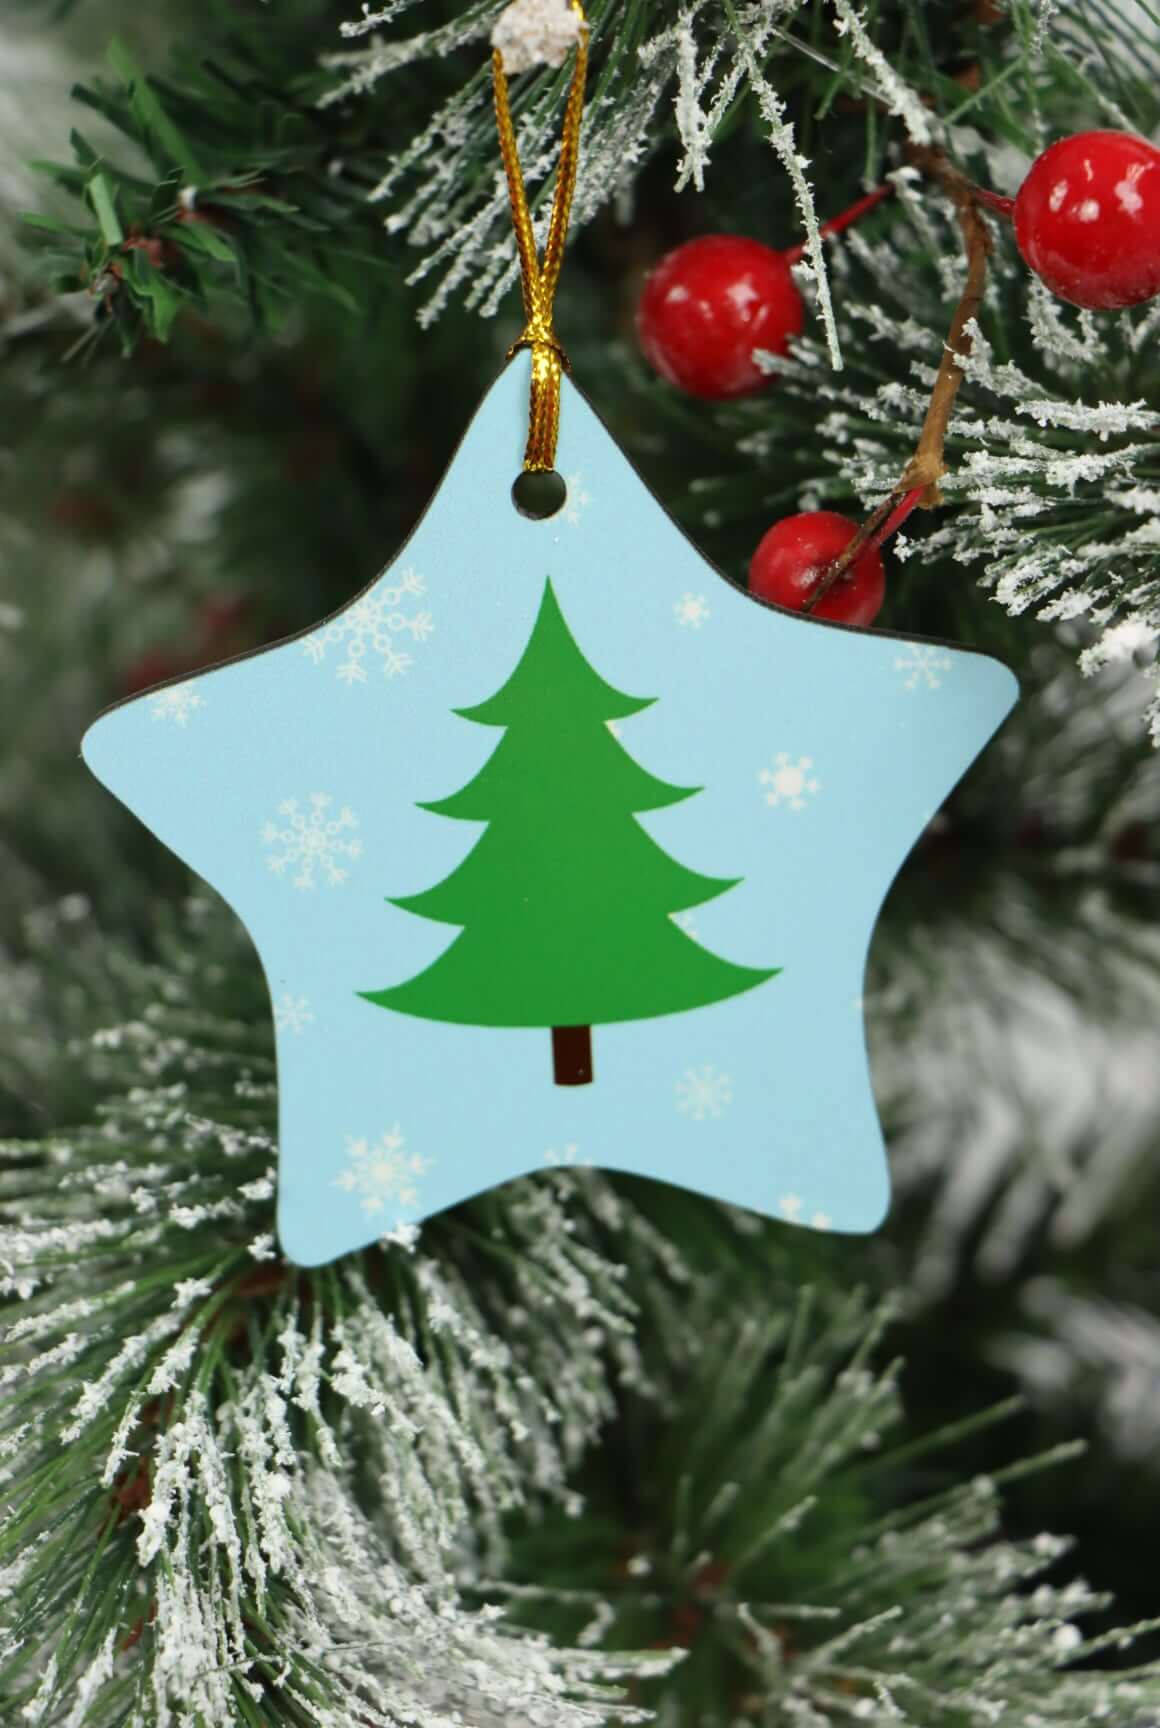
- Available in 4 Shapes: Circle, Oval, Heart, & Star
- Product Dimensions: Circle & Heart, 2.75” tall; Oval & Star, 3.25” tall
Design Guidelines:
As with all of our sublimated products, you can design your ornaments via two methods.
- Upload a transparent PNG file & choose your background color.
-
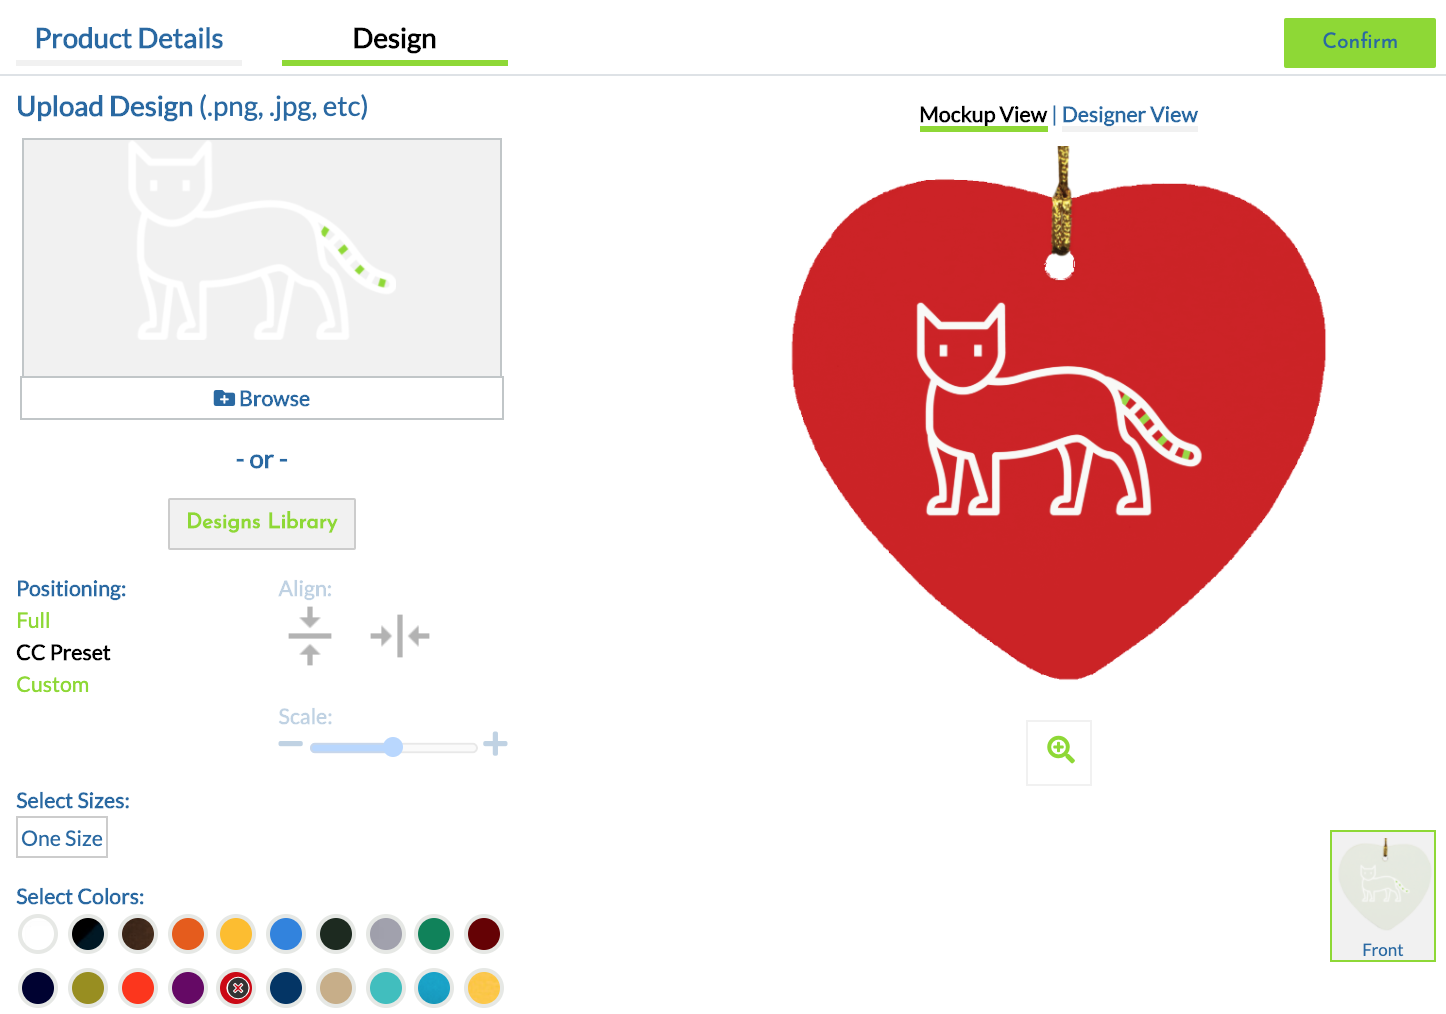
- With this method, our “CC Preset” positioning should be selected. Your design will be centered on each ornament with edge-to-edge background printing to ensure there are no unprinted areas on your product. If you’d like to resize or reposition your artwork on the ornament, selecting “Custom” positioning will allow you to place your design wherever you’d like while still ensuring edge-to-edge printing of your selected background color.
-
- Upload product-specific artwork based on our Art Templates.
- For design-savvy sellers, we have the option of uploading artwork that is specifically created for each product. This can be helpful for sellers who want to print patterns or photos from edge to edge.
- With this method, select “Full Front” positioning within our designer. If your design doesn’t look quite right or doesn’t fill the “Full Bleed” area of our design template, please use “Custom” positioning to stretch your design to fill the entire artboard. If your design fills the artboard in “Designer View” while you’re adding a product, this means no background or unprinted areas will show in your finished product.
As always, be sure to review our
Design Guidelines & Best Practices
before creating your artwork.
Preset Options:
Full Front:
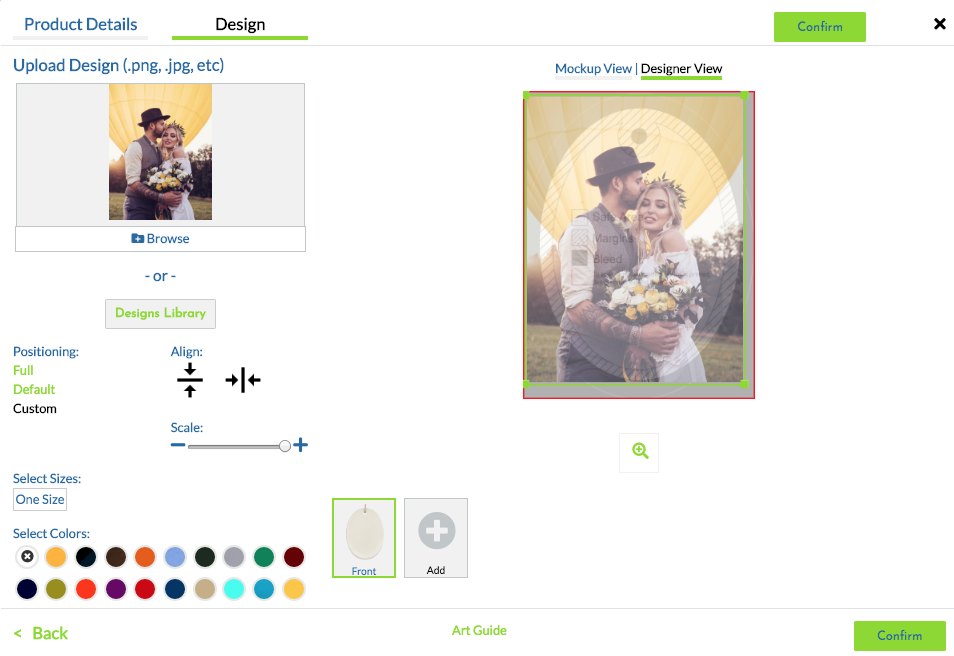
Select this design position if you’ve used our art template to create a design specifically for this product. As you can see, the design displays perfectly on the ornament below as the design was created to the art template’s specifications. To check your design against the art template, select “Designer View.” If you’ve created your art properly, your design should extend beyond the red border of the art board behind your image.
CC Preset:
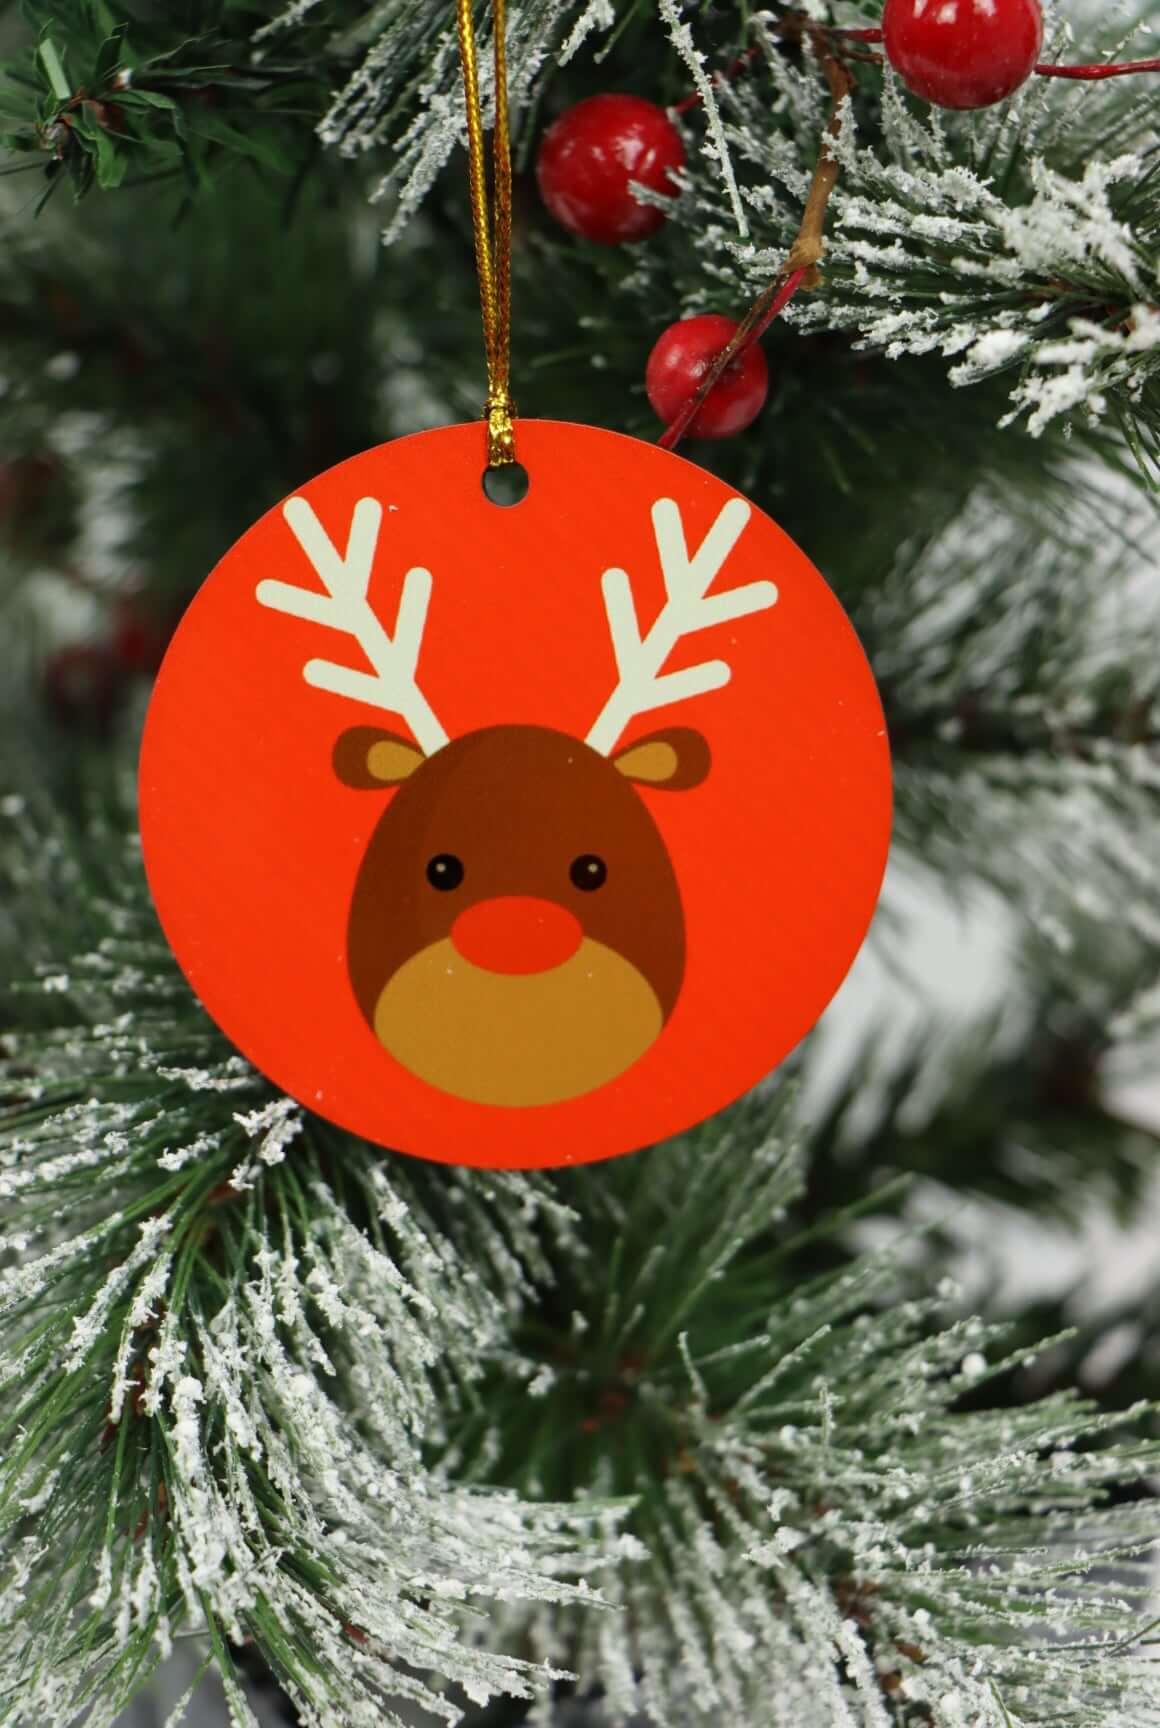
Select this design position if you’re using a transparent PNG file & a CustomCat background color. This design position will center your design in the center of your product. Selecting a background color will fill all transparent areas of your design, ensuring no unprinted white areas will remain on your finished product. In the example below, we’ve uploaded a white design & selected a red background color in the CustomCat designer.
Custom:
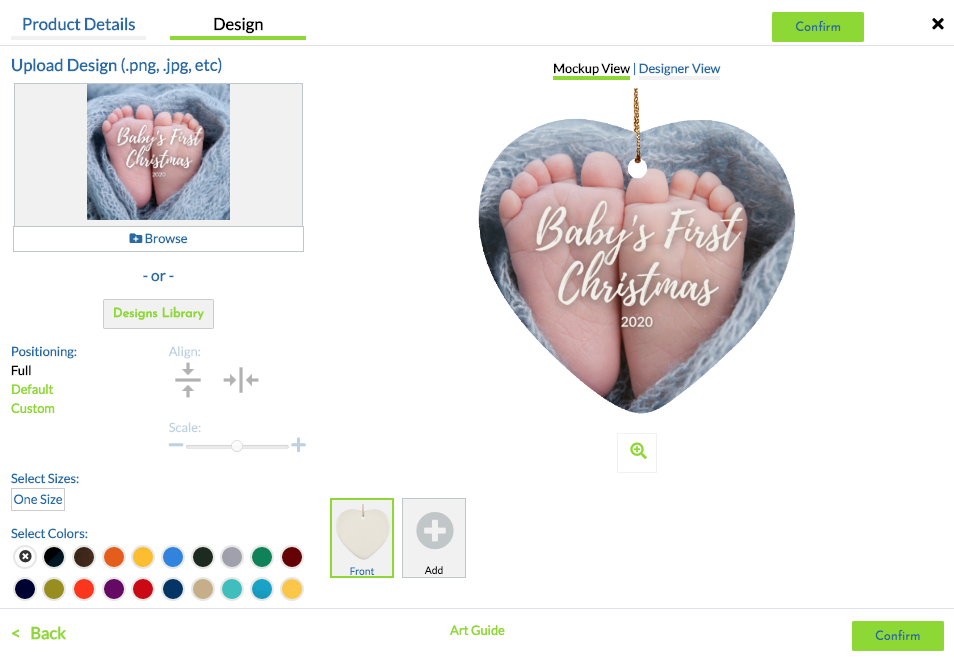
Using the “Custom” design position gives you full control over the placement of your artwork on your product. Use this setting if you would like to resize or reposition your design on your product. In the example below, we’ve uploaded a photo that is not sized properly for the oval ornament. We’ve resized the image within the CustomCat designer to ensure all the important parts of our design are within the safe area. Because we did not extend our design to the red edges of the bleed area, there is a possibility that there will be white unprinted area on our finished product.
Using Ornament Templates
All templates are available in PNG and PSD format.
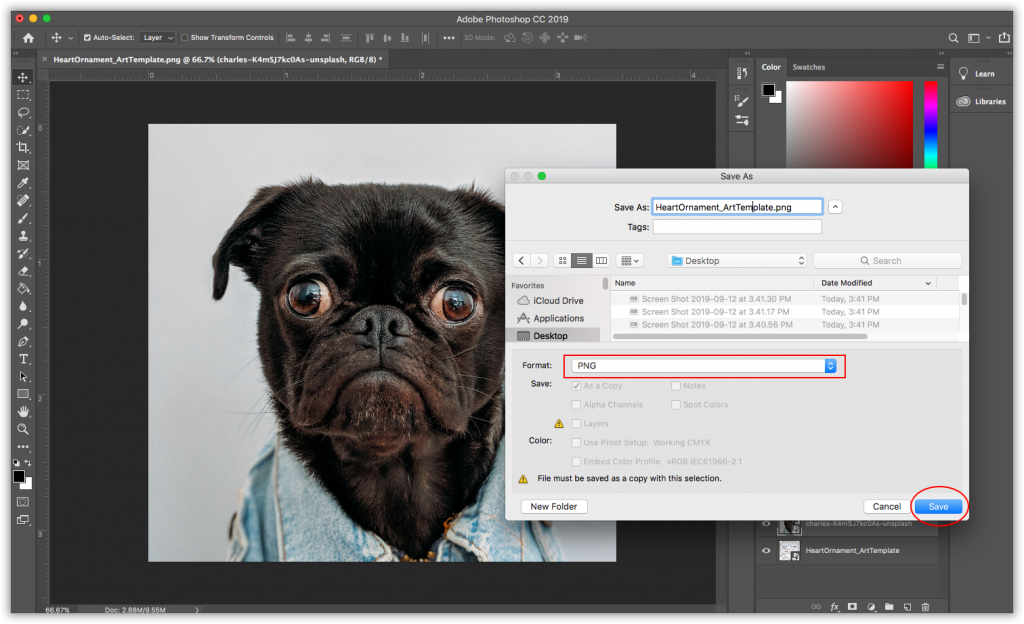
1. Open Template in Photoshop. Go to File & open the PNG file that you just downloaded.
2. Adjust your design so it’s aligned properly with the art template. Content within the blue line will show on the final product.
3. Save your file as PNG.
Product Marketing:
Research shows that the average consumer planned to spend ~$61 on holiday decorations in 2019 — this category includes Holiday Ornaments. In addition to purchasing decorative ornaments for one’s own home, holiday ornaments are also one of the most popular holiday gift categories in ecommerce stores.
Target Market Audiences:
Families:
Personalized ornaments are always a hit with families. You can sell customizable ornaments featuring a family portrait, illustrations of families with a certain number of children or grandchildren, or holiday-themed designs with customizable family names (i.e. The Smith Family).
Newlyweds & New Parents:
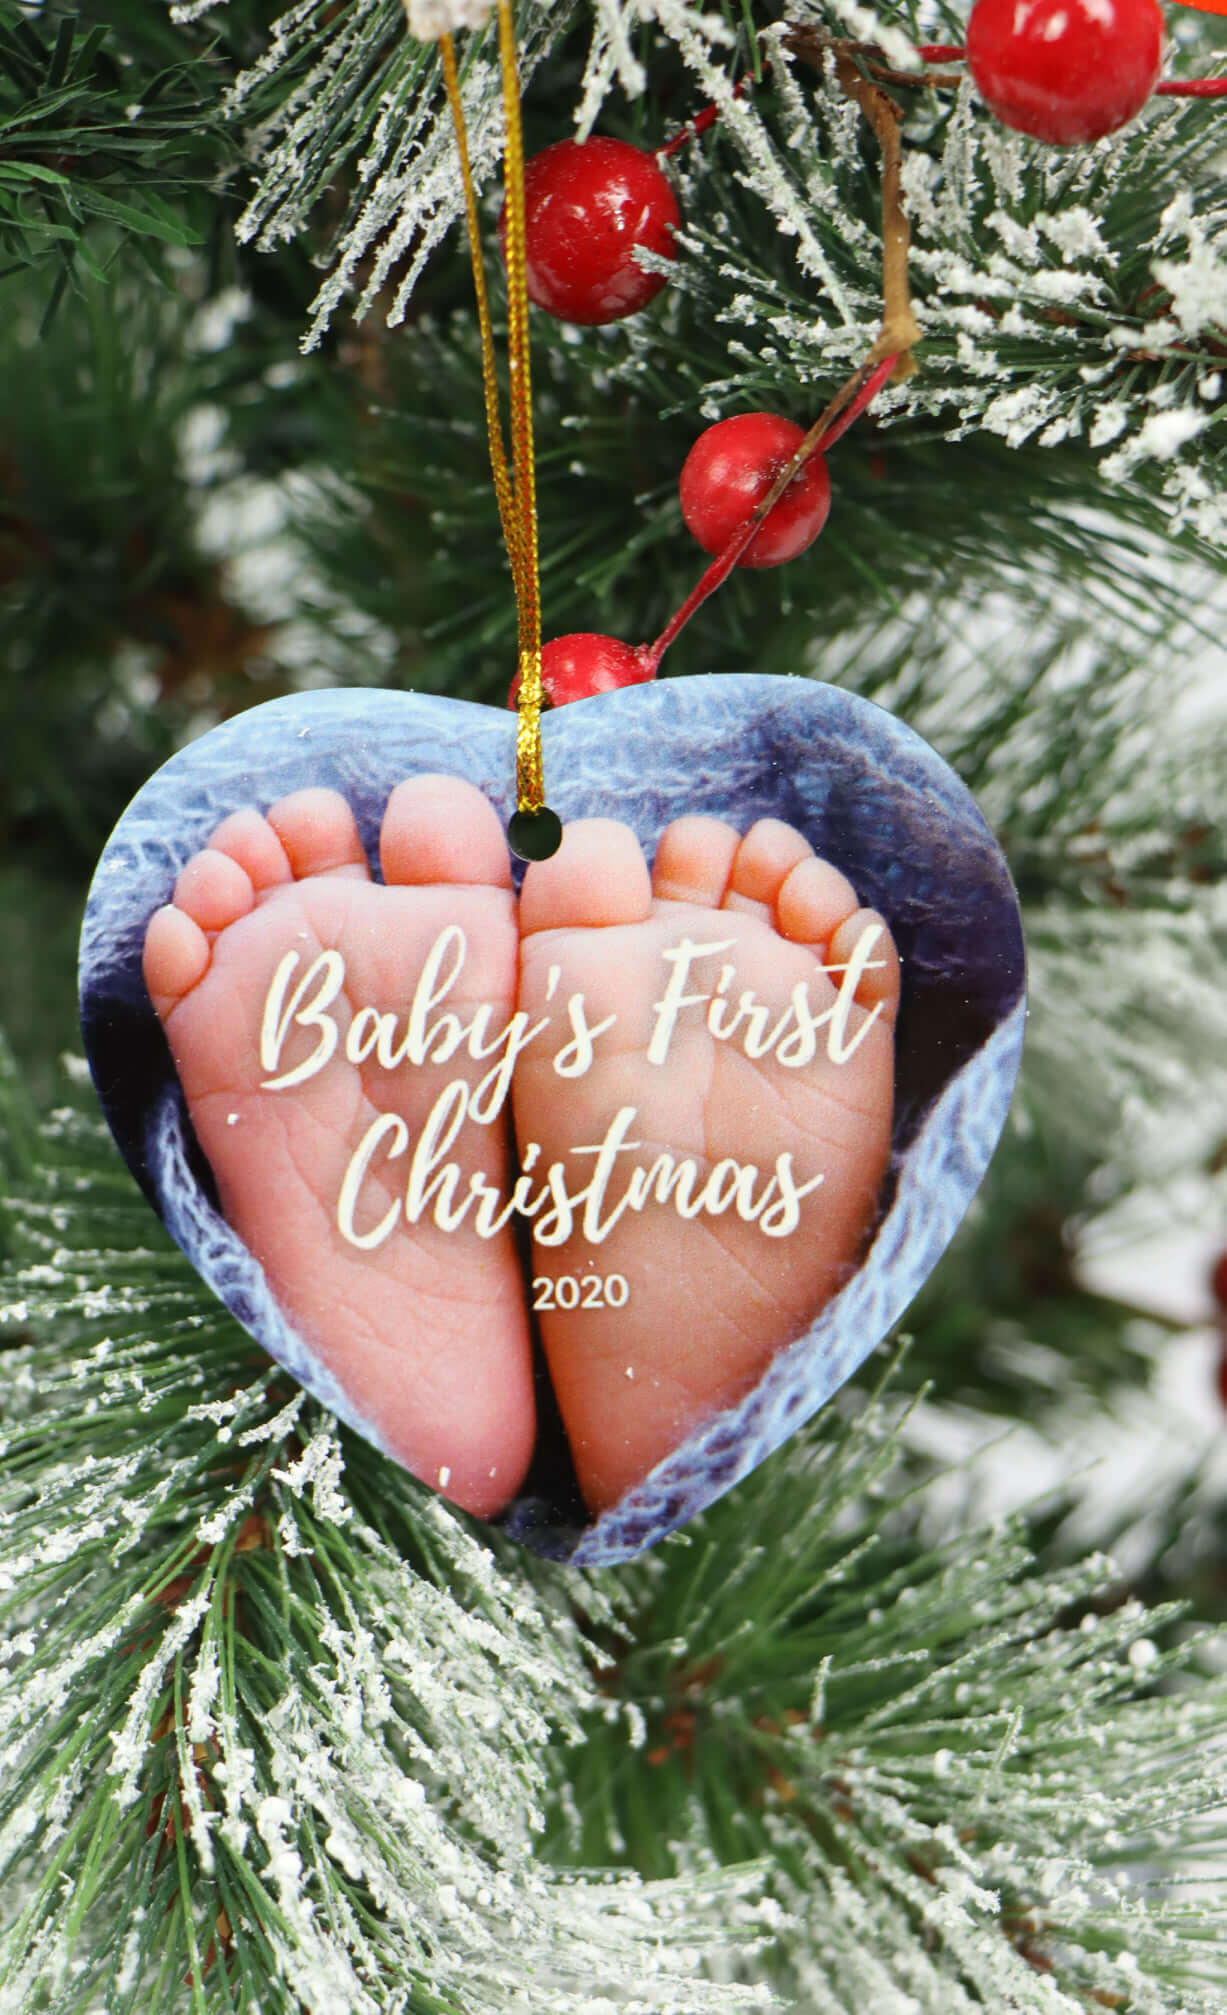
Ornaments are a phenomenal way to commemorate “firsts.” Families will often hand “Baby’s First Christmas” ornaments on their Christmas trees for decades, often passing these ornaments down through generations. Newlyweds cherish their ornaments inscribed with memories of their first Christmas together — “Our First Christmas as The Johnsons, 2020” is always a winning personalized ornament.
Individuals:
Whether it’s someone devoted to a specific tree decoration color palate (like classic red & gold), or an individual with eclectic taste, custom holiday ornaments speak to all of us. Whether you specialize in holiday puns, religious text, or cute snowmen & reindeer, you’re likely to find a vibrant consumer segment of individuals who are excited to add your designs to their Christmas trees.
When creating your holiday ornament listings, it’s important that you highlight the most appealing aspects of your ornaments.
For instance, CustomCat’s holiday ornaments are highly durable & print vibrantly so your ornaments can last for years to come. These ornaments are lightweight so your customers can hang them exactly where they want them on their Christmas trees without weighing down the branches.
Design:
Examples of design categories
- Winter Themes
- Holiday Themes
- Religious Themes
- Family Ornaments
- Pet-themed Ornaments
- First Christmas Ornaments
- Holiday Jokes & Puns
- Purely Decorative
- Sports Themes
Whether you’re a seasoned ornament seller or this is your first year offering ornaments to your customers, we’re here to help set you up for success. If there are any tips you’d like to see added to this selling guide leave us a comment below or email [email protected].
Happy Selling!




One thought on “[Guide] Selling Custom POD Holiday Ornaments”